Introduction of Wooden Door Threshold + Best buy price
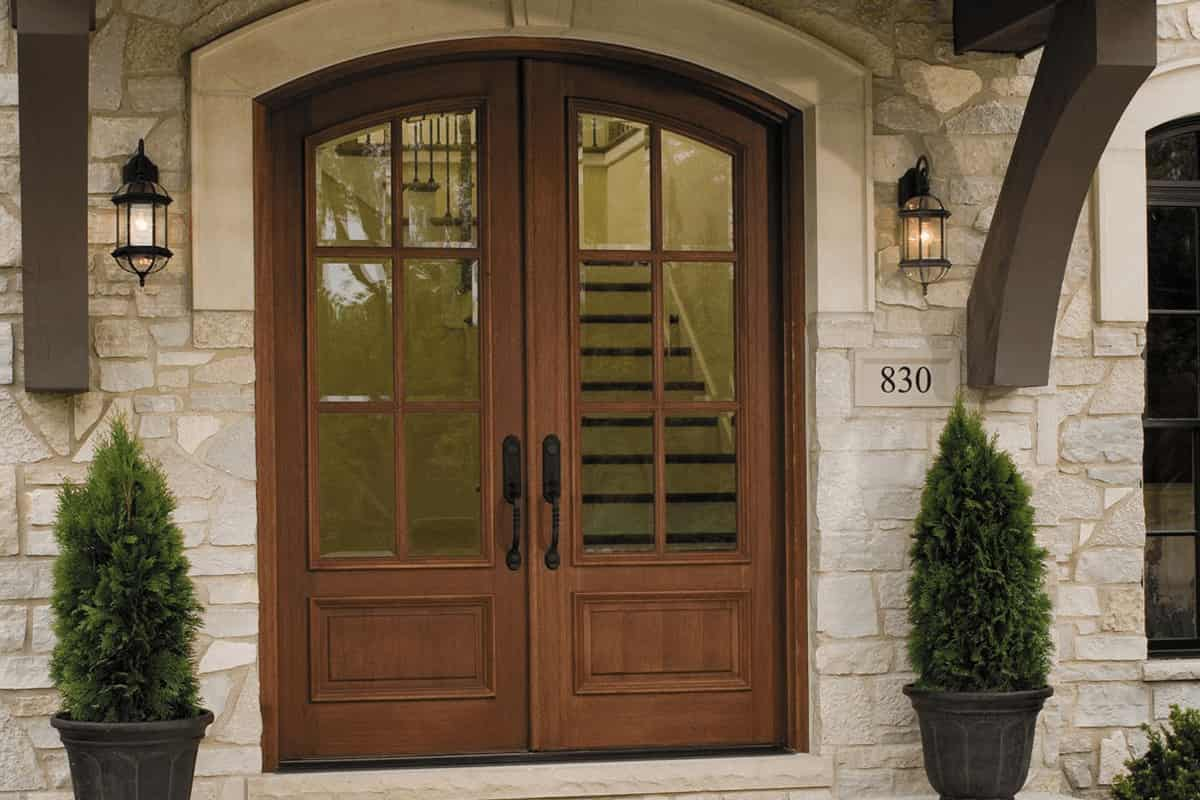
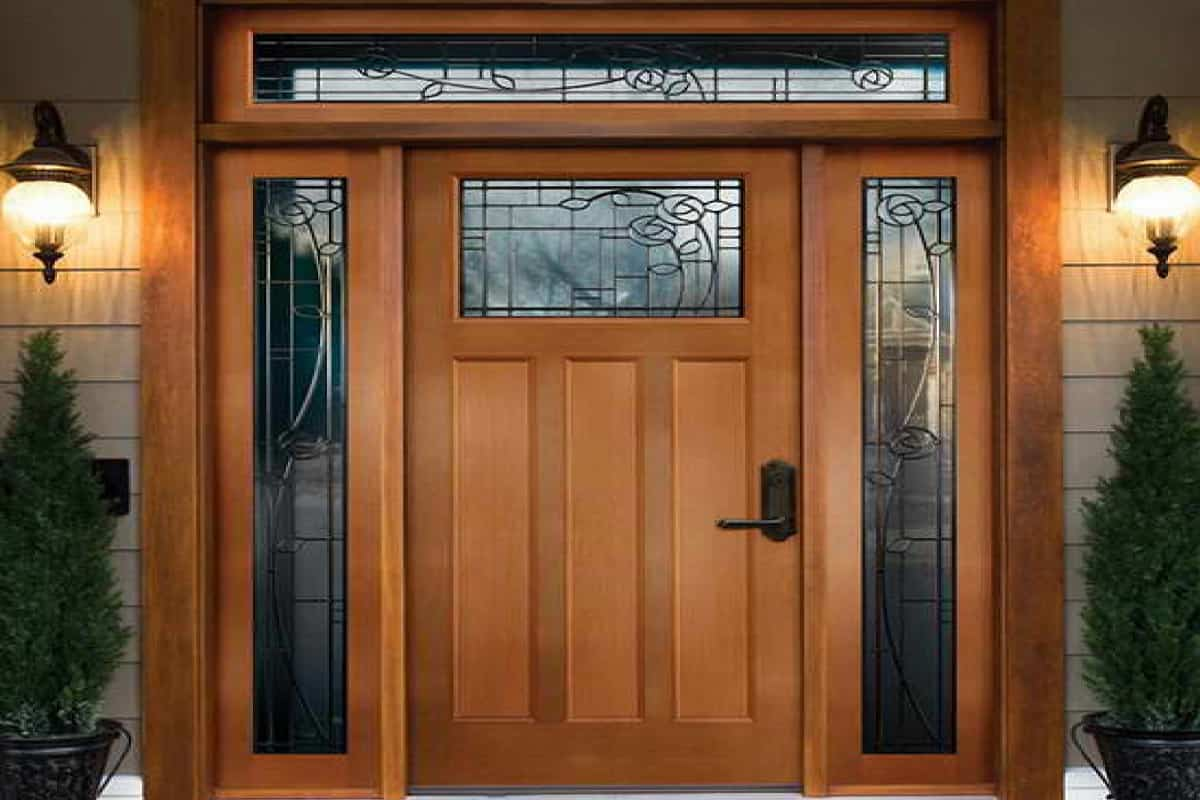
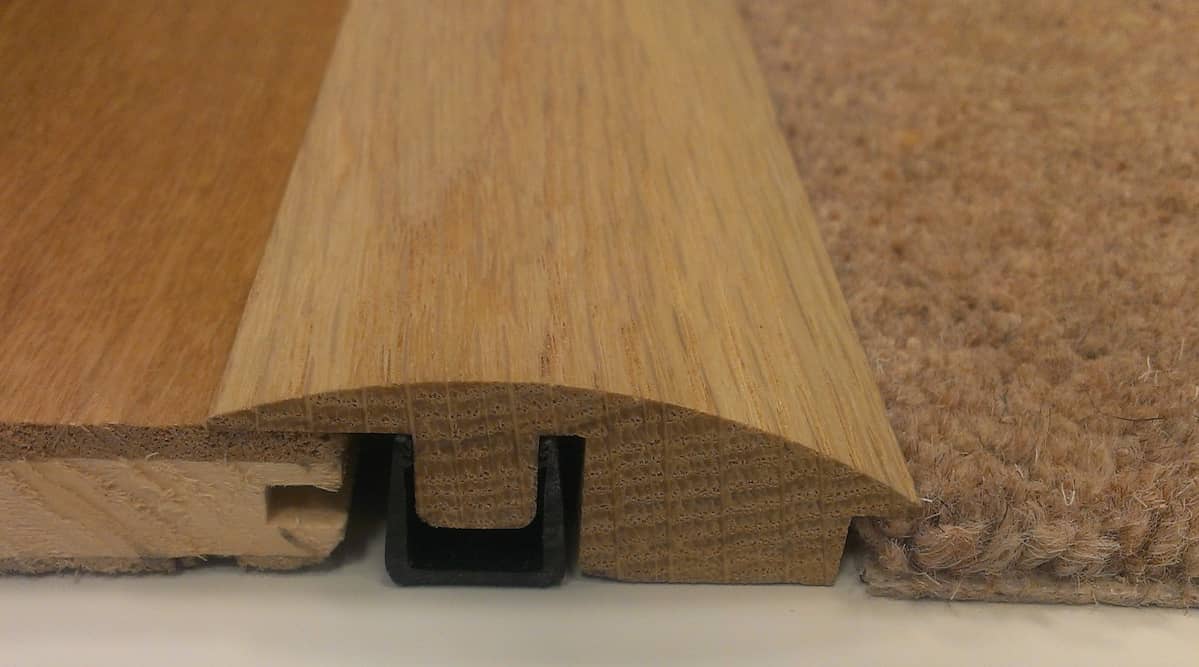
At the bottom of a wood door, in between the door jambs, are oak door saddles, also known as thresholds
When two floors in distinct rooms vary slightly in height, they may be useful
When a door is closed, saddles may taper from the door’s center to the outer edge, eliminating the need for a lip between adjacent rooms
Oak door saddles may be utilized only for cosmetic purposes to give your property a more noticeable addition of wooden workmanship
An oak threshold may be installed in approximately an hour
Pry or unscrew the old saddle
To remove the nails if it is made of wood, use a flat pry bar underneath them and pry them up
Use a cordless drill/driver to remove any screws if the object is made of metal
Wear protective eyewear
When the threshold begins to loosen, grab it with both hands
You should jiggle it back and forth while pulling on it until it pops free and comes off entirely since it could get caught below the door jambs
If necessary, use the bar to pry it open furthermore
Where the old threshold was removed, clean the area
Using a pair of diagonal pliers, remove any last nails
Use a putty knife to remove any old caulk, glue, or sealer
Set the miter saw on top of the wood saddle
Remove a 1-inch sample from the threshold’s end
As though the new oak saddle has already been placed, the sample piece into the sides of the door jambs while it is on the floor
Draw a pencil line parallel to the saddle’s upper edge along the door jamb
This will transfer the oak saddle’s thickness and angled line, if any, to the door stop on the door jamb
In order to cut off the door stop without detaching it from the door jamb, complete both sides
Cut the door off and put down the coping saw
Cut along the pencil line you made on the door jamb
Eliminate both sides
Use a chisel and hammer to cut off the door stop if cutting close to the floor is challenging or the angle is too acute
The distance between the door jamb’s two sides should be measured
The saddle will fit under the door stop, so keep that in mind
Use the miter saw to trim the oak saddle to that length
Use a hand block and 100-grit sandpaper to smooth the saddle’s edges and corners
Place the saddle below the door stop
Drill four holes in the saddle’s middle, or in any other area that will guarantee the screws have enough support below them
The holes should be equally spaced apart
Use a cordless drill/driver gun and a 3/16-inch bit to drill the holes
Using the drill/driver, insert a 1/2-inch bit
To countersink the screws and provide room for an oak plug to be inserted, drill each hole to a depth of 1/2 inch
To fasten the saddle to the floor, insert 2-inch screws into the holes and tighten them with the cordless gun
Each countersunk hole should have a drop of glue in it
Each hole should receive one 1/2-inch wood plug
Allow the adhesive to cure for an hour
Using the coping saw, remove the plugs’ tops
Using the hand block, sand the saddle’s face smoothly
Finish by rubbing Danish oil stain into the saddle with a soft cloth
The completed floor under an outside door is often just over the threshold’s top
The gap you noted was made when your door was cut to allow it to open after the new flooring was put in
The repair entails reducing the door just enough, installing a new door sweep that will provide a tight seal when the door is closed while clearing the rug, and placing a new 34-inch-thick oak threshold on top of the old one (to conceal the exposed edge of the new flooring)
To shield the wood from the last blows of a hammer, use the tapered metal end of a nailset
It prevents slipping off the head of the nail thanks to its cupped, tough tip
The tips are available in several sizes: Pick one that is just a little bit tinier than the head you want to tap
Set a pair of scribes at this height and add 1/8 inch to the threshold material’s height
To make a cutline, use the scribes to outline the door’s edges on either side
To remove the door from the jamb, detach the hinge pins from the hinges
Place the door on two sawhorses so that it is flat
Cut the door to the new length using a circular saw, using the scribed markings as the cutline
To stop the freshly exposed grain from soaking moisture, seal the bottom of the door
Once it has dried, rehang the door
To measure the threshold material, hold it in place with one end butted up against the inside of the door casing and mark the other end at the casing
Utilizing a miter saw, trim it to size
Measure the distance between the leading edge of the area where the threshold will sit and the depth of the door casing to determine its breadth
Utilizing a table saw, make it wide
Bevel the upper borders of the threshold to smooth the transition
To bevel one edge, tilt the table saw’s blade by 45 degrees, move the fence a little closer to the blade, and run the threshold through
To bevel, the opposite edge, flip the threshold
If required, use a table saw to carve a rabbet in the bottom of the threshold so that it may overhang the current flooring
To ensure a flawless fit, keep the threshold in place while marking the incisions with a pencil
Cut them out with a jigsaw after doing this on both ends of the threshold
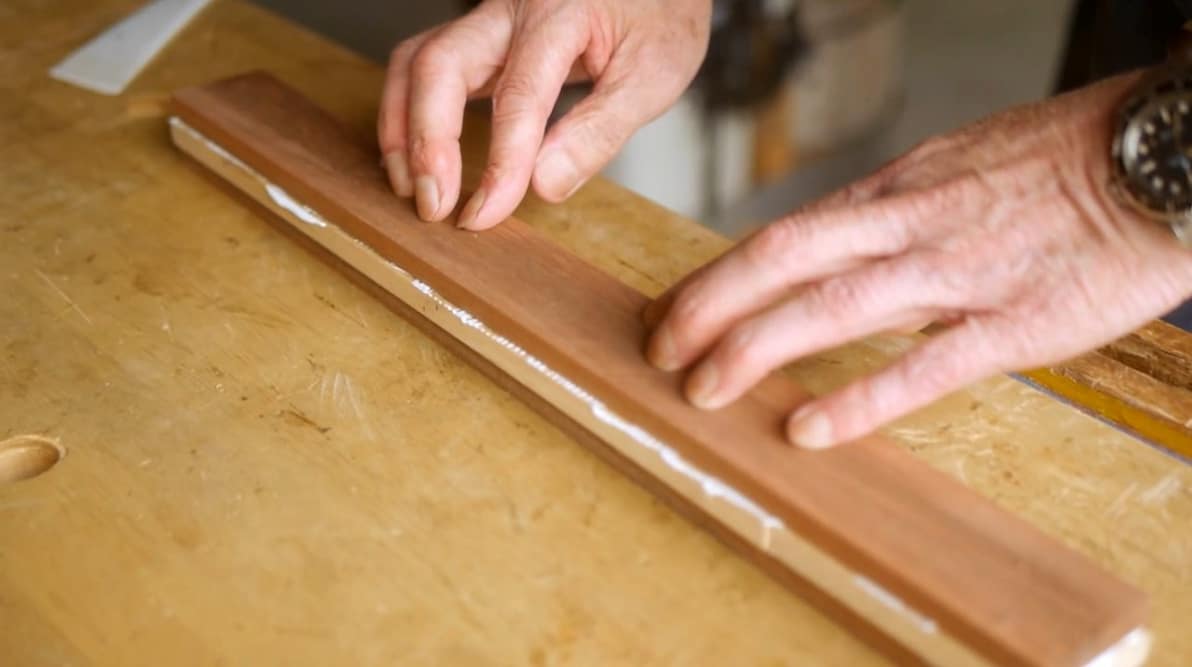
Apply a coat of sealant to the threshold to make it smooth and stop water damage
Where the threshold will be, squeeze a little bead of construction glue onto the door sill
3 inches from each end and one in the center, predrill holes in the threshold
Fix the threshold with nails
To evaluate the space beneath the door, close it
To shut the opening and create a tight seal, screw a door sweep to the front of the door