Garage door sensor not working
Clean lenses are the most likely cause of a garage door that is not working
If your garage door sensor lenses are left uncovered, they may draw dust or grime, which will prevent the signals from being sent between the two sensors
The tiny picture eyes on your garage door sensor are constantly attracted to dust over time
You must constantly make sure the lenses are dust-free
However, if your garage door isn’t operating, inspect the lenses for dust
Remove the dust using a soft cloth, being careful not to leave any streaks on the lens surface
You may use a soft cloth and a mild cleanser, but be careful not to let the lens surface get wet since this will just collect additional dust and debris and reduce the performance of your garage door
Your garage door may not completely close if your sensors are out of alignment because the signals transmitted from the transmitter sensor may not reach the receiver sensor
The sensors on your garage door must all be angled and directed in the same direction
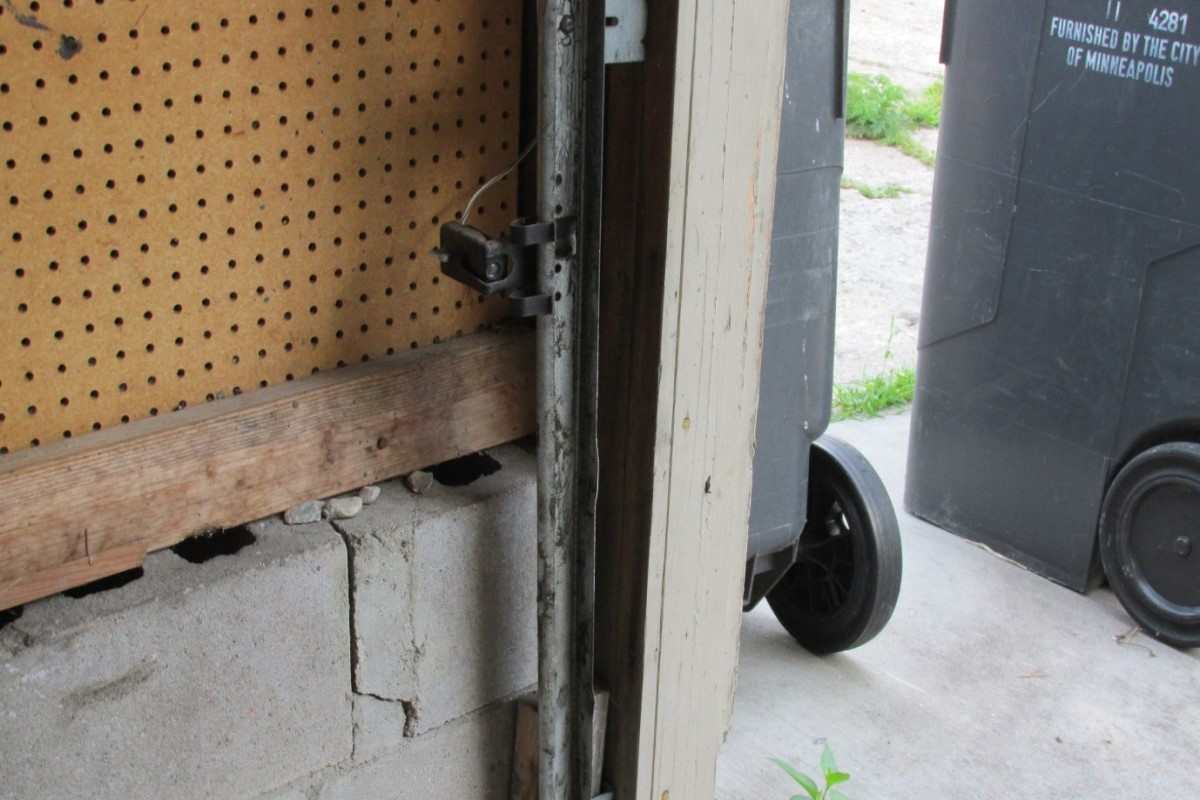
Examine the LED light on the outside of each sensor to see whether it is properly aligned
The sensors are appropriately aligned if all of the LED lamps flash
The sensors are out of alignment or misaligned if just one of them is blinking, however
To correct mismatched sensors, tighten the screws holding up the bracket holding up the flashing LEDs with a screwdriver and attempt to move it till it is aligned with the sensor on the other side of the door
The bracket may also be aligned by bending it back to its initial shape
The blinking will cease as soon as they are properly positioned
Damaged cables connecting the door sensor system might potentially cause the garage door sensor to fail
These wires may experience wear and tear over time as a result of frequent usage, insect infestation, or climatic changes
Check the connected wires for water damage or gnaw marks before trying to fix the issue
Replace the cables if such is the case or if there has been any other tampering
Only when the safety reversing sensors are properly linked and aligned can the garage door opener travel downward
The sensors must be correctly aligned, but if they aren’t, there are a few measures you may take to address the problem
When the safety reversing sensors are not fitted or linked to a power source, the sensors won’t illuminate
The cables connecting the safety reversing sensors are either cut or damaged
The sensor has a problem
First, locate the safety reversing sensors that are located on each side of your garage door
Make sure nothing is obstructing the sensors
The LED on both sensors starts to shine steadily as soon as you remove any blockage
The garage door may then be attempted to be closed using a remote control
If it does, the issue is resolved
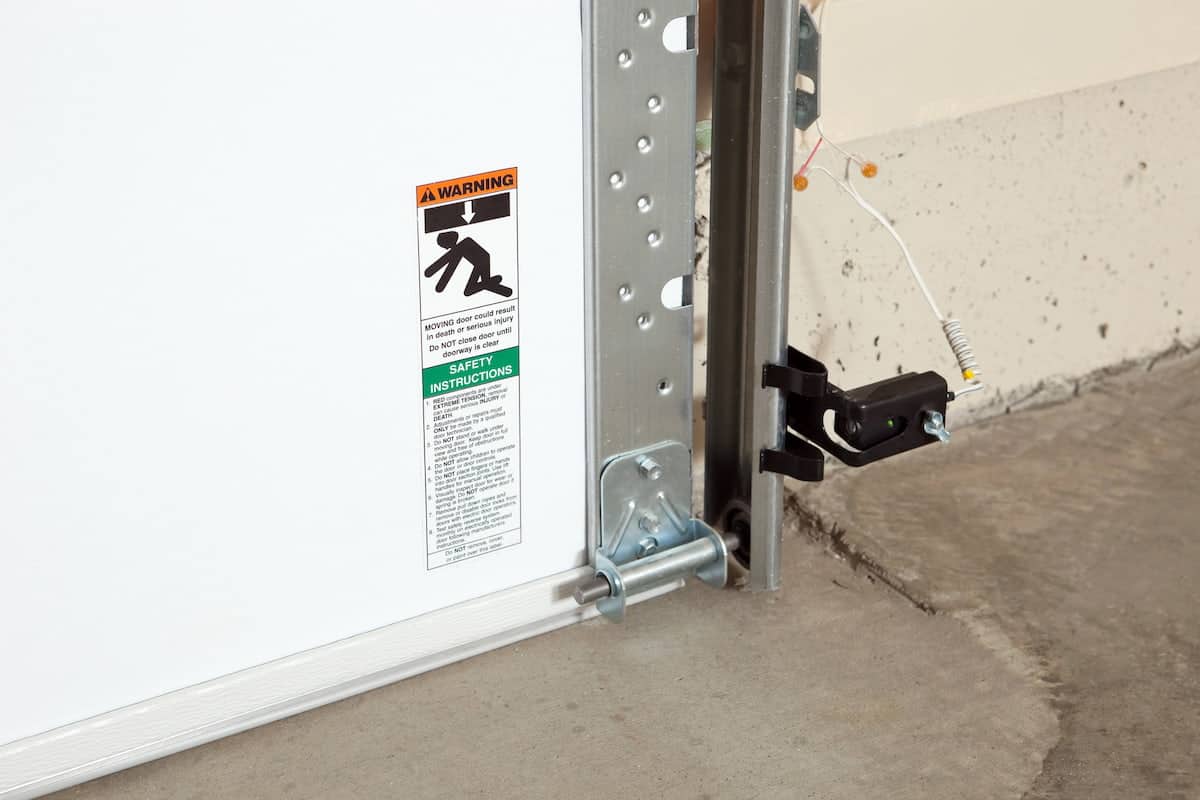
If nothing is obstructing the sensors and you still can’t get the garage door to shut, you may also try aligning the sensors, checking the wire connections, and checking the security reversing sensors
Your sensors are out of alignment if you cannot perceive a constant light
Examine the sensors to see whether they are installed at least 6 inches from the ground
Start by releasing the wing nut on the reception sensors, which are the green LED
Fasten the wing nut after adjusting the sensors until the green LED light lights consistently
Adjust the sensor such that the transmitting sensor is consistently illuminating if the green LED is still flickering (Amber LED)
To shut the door, use the remote control
After making this change, test the safety reversal to see whether the garage door shuts
The issue is resolved if everything goes according to plan
Check the electrical ties of the garage system if the door won’t shut
A sensor that flashes orange rather than the usual red light might point to a problem with the electrical connection, depending on the garage door type
Check each wire that runs from the sensor to the terminal on the rear of the opener carefully
Verify the cables for any breaks, twists, or tangles
For the garage door to operate, all of the cables must be connected correctly
If you haven’t already, install the safety reversing sensors; this will instantly fix the problem
Install the safety sensors first, then proceed to the wiring
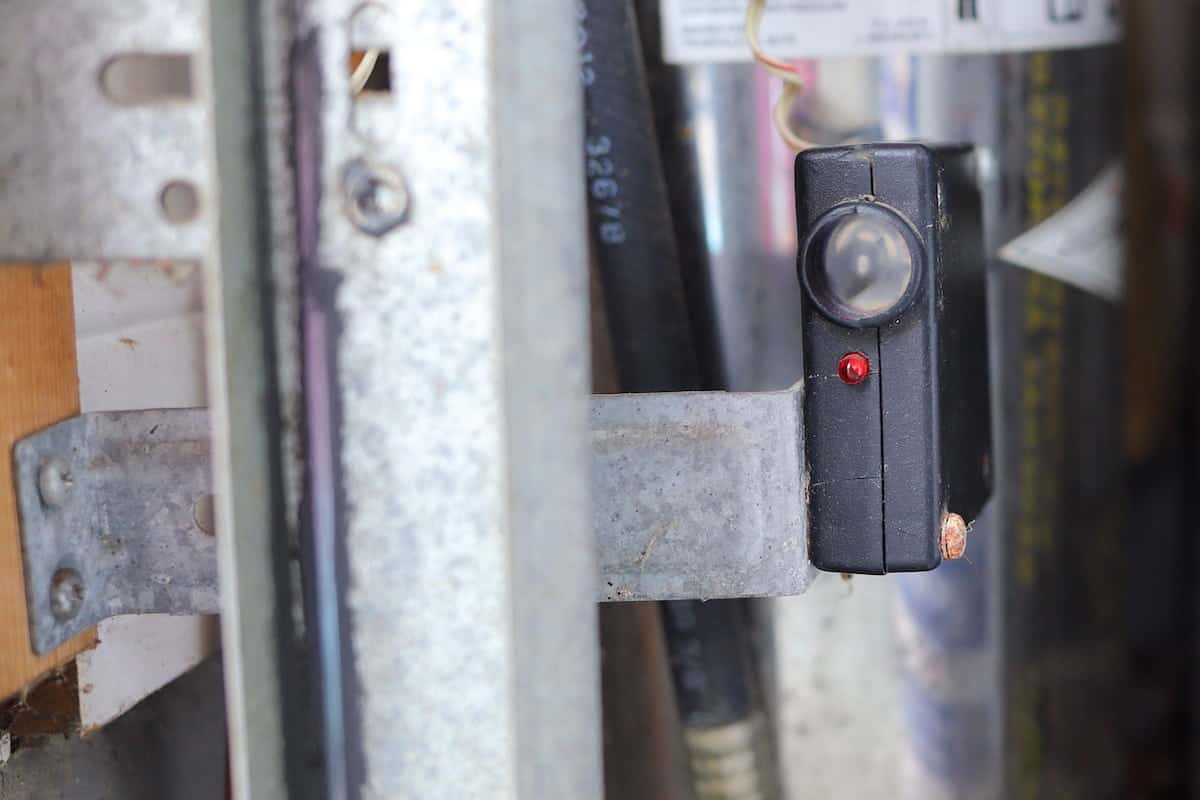
Examine the cabling that connects the opener to the safety reversing sensors
Make that the white wire terminals on the garage door opener are linked to the white wires coming from the safety sensors
Consequently, if your garage is pre-wired, the wire colors can be different
Make sure the black wires are attached to the opener’s black terminals
To make sure the wires are fastened and linked properly, gently tug on them
Close the garage door using the remote
The opener is operating properly if the door shuts
Using a screwdriver, detach the sensors from the mounting brackets
The wires should be separated from the wire nuts
Use a wire cutter or another sharp tool to cut the wires from each sensor’s two terminals
Twist the wire connections
Remove the white and gray wire ends from the rear of the operator
Connect the sensor’s white wires to the white terminals, and the black wires to the end of the grey wire
If both LED sensors turn on while the sensors are facing each other, there is a wiring issue
The cables securing your garage opener to the sensors may be changed
Replace the sensors if the LED sensors do not function
When it has electricity, the receiving sensor (green LED) continually illuminates
There is an open or shorted connection if the LED is not burning steadily
One way to solve the problem is to first swap out the wires that are now attached to the transmitting sensor
Replace the safety reversing sensors if the wiring has been restored but the receiving sensor is still not lighting steadily
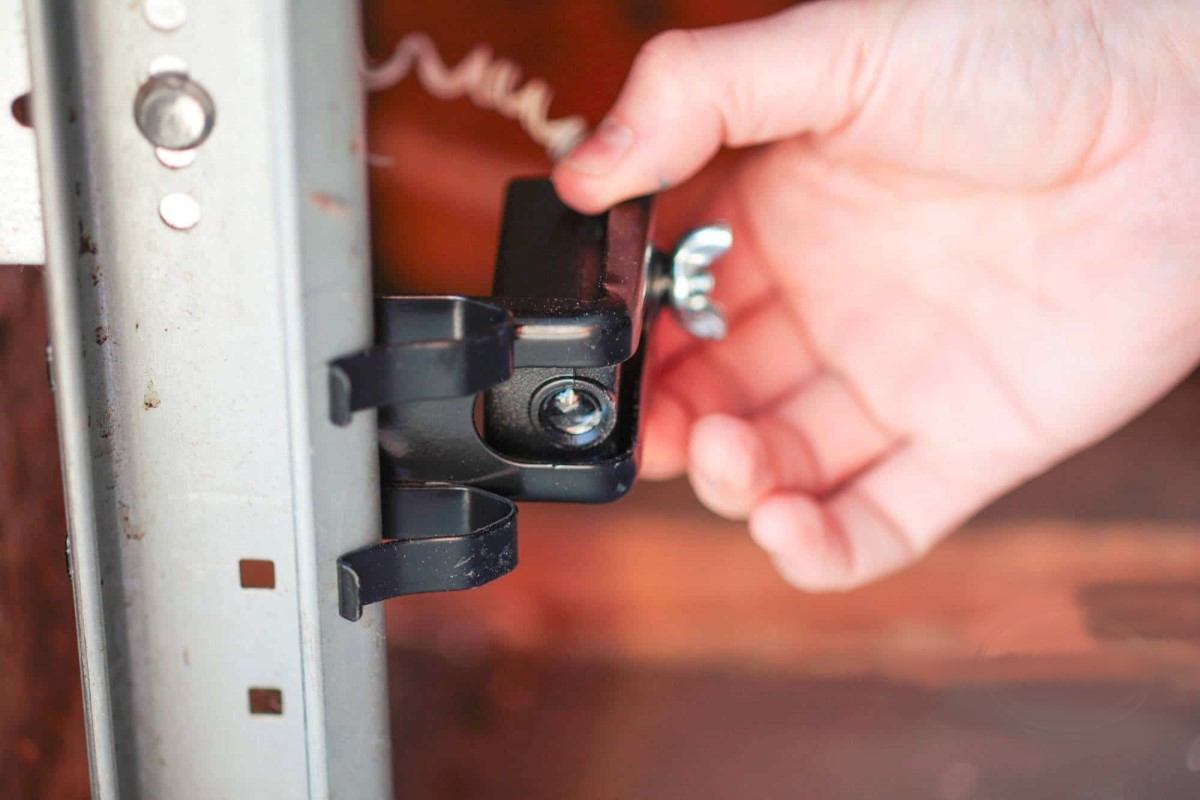
Utilizing the remote control, try shutting the garage door
If the door shuts after this modification, test the safety reversal, but if it doesn’t, consider moving the sensors’ placements in your garage
If the wiring and garage door are in perfect alignment, it’s possible that the sensors are worn
The deterioration may be caused by normal wear and tear or even prolonged exposure to sunlight
There are a few easy actions to take in order to remove an old sensor and replace it with a new one

